Friday, June 1, 2012

Pirate Dress

We were on our way to Disneyland for the day and I wanted my daughter to have a pirate dress, as we were meeting her friends from preschool (boys) who were dressed up like pirates. I have never seen any pirate dresses for girls. Therefore, I created my own.

This dress is fairly easy to create. I used a halter top pattern and made it into a dress. I make tops into dressed by both cutting the pattern two to four sizes larger than my child (keeping seam allowances) and then extending the length. I added the handkerchief tier, in red, to the bottom of the dress for that added pirate effect.

The red belt is simply a piece of red cotton spandex fabric I cut in order for my daughter to hang her sword.

This was my first run on the pirate dress. If I do this again, I will shorten the length of the red handkerchief tier and re-work my make shift belt.

Monday, April 30, 2012

Mod Kid Skirt

This is my first attempt at the patterns from Patty Young's Sewing Mod Kid Style book.

I made yoga shorts and the gored skirt.

I have made the Mod Kid Kimono several times but this was my first attempt at other Mod Kid fashions. I love the use of the cotton knits that I use for some designs in my Leotots shop. Before I give my pro's and con's, here are the two creations:
My pro's on these two Patterns by Patty Young: 
  1. These are very cute casual wear
  2. The yoga pants flair is very true to yoga pants and I like it that she has this for kids. 
  3. The gored skirt does look like a yoga skirt in person. The photo does not do justice to the yoga look of that skirt. I can't say enough about how cute that skirt looks in person.
  4.  Patty Young has my vote on easy construction on the gored part of the skirt. The skirt sewed together quickly and easily until it was time for the awkward application of the waist band. 
The Con's on these two patterns 
  1. The fold over waist band is a pain to apply. I don't like having one piece of fabric (the waist band) smaller than the other (the shorts) and trying to give tension to one piece of fabric  (the waist band) that evenly distributes stretch while not stretching the other piece of fabric (the shorts/ skirt). 
  2. The fold over waist band is not too easy to work with when trying to get my daughter dressed. Getting the fold just right seems like more attention than I want to give to a waist band. I guess the bigger sizes, for older children, don't put the parent in this position. For the little kids, messing with that waist band isn't fun. 
  3. The waist band calls for two pieces. WIth the shorts being made like leggings, I didn't understand why she calls for two pieces on the waist band. The seams on a two piece wast band should be on the sides of the body. The leggings style seams in these shorts create seamless sides. Why impose seams on the sides of the waist band when there are no seams on the sides of the pants/shorts? Also, with the skirt, the seaming on the side of the waist band would not match the skirt sides and intersects oddly with the gores. I used a single piece of fabric for the waist band. 
  4. The book wasn't specific about the shorts needing stretch fabric. I use stretch fabric all the time but wanted to use french terry on these shorts. The first pair of shorts came out three sizes too small (using pattern size 6) because the patterns seems to be geared to only cotton spandex. The book doesn't say which type of fabric that the shorts/ yoga pants patterns is specifically geared toward. However, the book text does mention that yoga pants should be stretchy but this is a comment made in the introductory text rather than in the "you will need" section where I want specifics about fabric type. I guess I expect more specifics from a pattern when I get information from the photos show baggie shorts but not enough information about the shorts from the text that pairs evenly with the information I am getting from the photos. Since I have done copy editing for books in the past, I notice things like harmony between photos and text. In this case, the editorial staff could have made some suggestions along the way. 
Overall, Patty Young has cute stuff in the book and I'm going to attempt every pattern. These are just my experience with the skirt and yoga shorts. I did make the yoga shorts bigger and the are cute. I made the shorts without any seam allowance and one size bigger to get a loose fit for no-stretch french terry. I did use the fold-over waist band but I am going to modify the pattern and get rid of that waist band for the next pair of shorts. 


Thursday, April 5, 2012

Corkscrew Hair Bow


I followed the tips on how to make cork screw hair bows on Cherished Hand Made Treasures today. My desire was not for a hair clip but a hair bow on a rubber band. So, I used my own approach in apply my cork screw ribbons to a rubber band.

I baked my ribbon, wrapped around my son's chop sticks, in the toaster oven at 250 degrees for approximately 25 minutes. This baking process set the ribbon.


Then I cut the ribbon into the lengths that would give me about 4 to 5 inches hand on either side of the center location where I attached the ribbon to the rubber band. When I was finished cutting the ribbon, I had 10 pieces of ribbon about 8 inches long.

I used needle and thread to bind all the pieces of ribbon together. Finally, I used the shortest piece of ribbon to bind all the other pieces to the rubber band by simply wrapping the short piece of ribbon around the rubber band and the center part of my corkscrew ribbon bunch. I added one final stitch to the bunch for security and I was done. The final result is this new hair bow that will coordinate with pink and black outfits.

I spent $4 on ribbon. Had I used a coupon on the ribbon, I could have spent less money. I have enough ribbon remaining to make one more hair bow. So, the cost of this hair bow was really $2.


Tuesday, April 3, 2012

Dalmatians Dance Costume

I created a Dalmatians Dance Costume for a custom order through my Leotots ETSY shop. I had to share. This is a two piece set with skirt and short sleeve leotard. This is only the second time I have worked with tule in a skirt. I am getting better.
The leotard is a straight forward short sleeve dance leotard. The skirt is actually a simple tier skirt. The bottom tier is made with two layers of tule.

The waistband on the skirt was cut at 2 inches but after the attachment to the tiers and the fold over pocket for elastic, the waist band ends up 3/4 of an inch. I pulled the waist in from 30 inches, unstretched, to 17 inches unstretched. With a flexible piece of elastic, this will fit the 19 inch petite waist perfectly for the dance recital this outfit was ordered for.


Friday, March 23, 2012

Hand Rolled Cake Pops Recipe Review

Today is my daughter's last day of winter session preschool. I signed up to bring mini-cup cakes but my daughter asked me to make cake pops. Since I refused to attempt cake pops for her birthday, I decided to honer her request this time and attempt cake pops.


I went to my local retail store and looked for a cake pop pan. I found that a cake pop pan for 12 pops was $12. Since I have to make 24 cake pops, I realized that it would be a long process or it would mean $24 for the pans. Then, I priced the electronic cake pop maker. For $20, I could get a countertop electronic cake pop maker that produces 6 cake pops every 10 minutes. I almost purchased this electronic unit. 

I took a quick google search, on my smart phone, to look for a cake pop recipe. I found a recipe for hand rolled cake pops at http://www.thekitchn.com/how-to-make-cake-balls-78637 . I immediately put the electronic cake pop maker back and spent $8 on the ingredients to make hand rolled cake pops, including sticks. 

Little did I know that my journey was just beginning. First, making the cake part is inexpensive and simple enough. I have to say that I used a boxed cake mix and not the recommended cake recipe found in the link I provided. I didn't have the time to make a scratch cake.

The candy coating was another world of problems. First, I purchased chocolate chips and not bark. I didn't want to spend too much money. Well, this chip choices was both good and bad because it was an inexpensive learning experience and the white chocolate I burned was an cheap loss. 

Next, I don't own a double boiler. I had stainless steel mixing bowl I stuck in a small pot and created my own double boiler. This method was unable to keep the chocolate at an even temp and I was unable to roll my pops evenly. I tried microwaving the white chocolate and it burned. Luckily, I had only paid $2 for white chocolate chips and didn't waste too much money. 

Since I didn't want to bring ugly cake pops to the preschool party, I had to search the web for the electronic candy melting pot. I found that Joann has a sale and I picked up the Wilton Chocolate Melting Pot for $20. Then, I had to go find white chocolate bark. I went to Vons and found white chocolate for baking. It was $7 for two bars. I needed three bars. 

Here I am trying not to spend a fortune and I have already spent $28 for about thirty three cake pops. Add the white chocolate, and I spent about $38 for thirty three cake pops. The real cost for giving out cake pops is actually only $18 because I get to keep the Chocolate Melting Pot for future use. Still, I read the recipe and figured $10 max. I was wrong. This was a time investment and a bit costly. 

What I end up with is actually good after investing in the melting pot. You can see that the double boiler produced unattractive cake pops. The melting pot made it so much easier to coat the pops and make the pops stay round. 

As for working with the cake, I am not impressed. The cake pops are slippery on the cake stick. Since the cream cheese and butter mix with the cake, you end up with little slippery balls on the plastic sticks. The cake itself tastes really rich but good. I have had high end cake pops. This recipe is different. The inside tastes more like cross between cake and fudge. 

I originally thought I wouldn't use this recipe again because I didn't like the consistency of the cake. However, after I let the cake pops sit at room temp for about 3 hours, I liked them much better than when I tried one cold. I must note, out of fairness, that I only tried them later on after the preschool event because these pops were the only food at the event that was all eaten up. I had saved my husband 5 white cake pops and took one when I got home from the event. The one I took from my husband's stock was very good and not being cold made all the difference.

In the end, These cake pops were a crowd pleaser and my daughter loves them!!


As an update, I have discovered that I can improve this recipe by: 
  1. Using an extra egg in the cake recipe and using milk instead of water when making the cake. I watched a youtube video and saw a mom read a tip from a cake pop book suggesting that the cake mix will firm up with the additional egg and milk. 
  2. Adding extra cake to the recommended proportion of cream cheese and butter 
  3. Using a cake pop mold to make my pops perfectly round. I found a cake pop mold at The Ally for $2 and will use this mold next time I make these cake pops. 
  4. placing a bit of candy on the end of the stick before I puncture my cake pop and before dipping the pop in the melted candy. I saw this tip in a you tub instructional video. 
  5. I am considering using the scratch cake recipe in the original link provided above. 


Wednesday, March 21, 2012

Upcycle T-Shirt Dress Tutorial

This tutorial explains how to take a boys character shirt and transform it into a girl's dress.


Things you will need:
1. A character shirt that is one to two sizes larger than your girl's typical clothing size. You want a larger shirt because a dress is typically wider than a girl's shirt.
3. Sewing machine
4. Contrasting fabrics: decide which two fabrics you want to use for the bottom of your dress.
5. Pins


Starting with the original boys t-shirt, remove both the sleeves by cutting on the inside of the sleeve seam.


Next, remove the hem. I simply cut the hem off my garment. I made my cut directly above the stitching.


Next, measure the bottom width of your shirt. Let's say my shirt was 30 inches in width. I decided to add 20 inches to my width. I added those inches by cutting my front and back pieces, of each tier, 25 inches wide. I made the bottom tier 8 inches long and the top tier 4 inches in height. Therefore, I cut two pieces of zebra fabric measuring 8 x 25 inches and two pieces of solid black measuring 4 x 25 inches.


After I was finished cutting my tier pieces, I sewed the front and back sides of the tiers together.

I did not choose to make one long 50 inch piece of each fabric because I didn't want the joining seam in the middle of the back of the dress. I chose to make two pieces and join the pieces on either side in order to create seams on both sides of the garment.


Next, each tier needs to be gathered at the top. Gather the tops of the tiers by taking each top and sewing a straight stitch, set at the stitch length 5, across the length of the top of the tier.


Gather your tiers so that each tier has a width that matches the width of the bottom of your character shirt. 


Lay the top tier over the bottom tier and then baste stitch these two tiers together. Be careful to insure the top edges of the gathered fabric are not twisted and bunched under. Make sure your top edges remain fresh on top of your basting stitch.


After your tiers are basted together, turn them inside out. Next, place the character shirt  bottom inside your tiers so that the right side of the character shirt is up against the right side of your upper tier. The wrong side of the bottom tier should be facing you.


Next, pin the garment together, ensuring that the top edges of the gathered skirt are fresh on top. Also, make sure to start pinning at the seams of each side of the tier skirt. You want to ensure your sides line up at the side of the character shirt.


When working with gathered skirts, I go pin crazy at first. I want all my edges to make it into my serger without sticking out the other side of the garment and forcing me to seam rip out areas to get the edges into the sewing machine. So, you should start out by doing a lot of pinning.

However, when it comes to sewing, to get started serging your garment, you will have to remove a few pins to get the seam area into the serger.


Your finished seam should look like the photo I have included. You will end up with a successfully attached tier skirt.

Next, measure the width of your arm holes. My arm holes were 13 inches in circumference.  I used fold over elastic and just capped the edges of my sleeve holes. I know most people don't make potty training pants and don't keep fold over elastic at home. If you don't have fold over elastic, go ahead and make yourself some bias tape or purchase bias tape at your local fabric store.

You can cap the edges of the raw sleeves with bias tape. Then, sew the bias or FOE onto your arm hole.

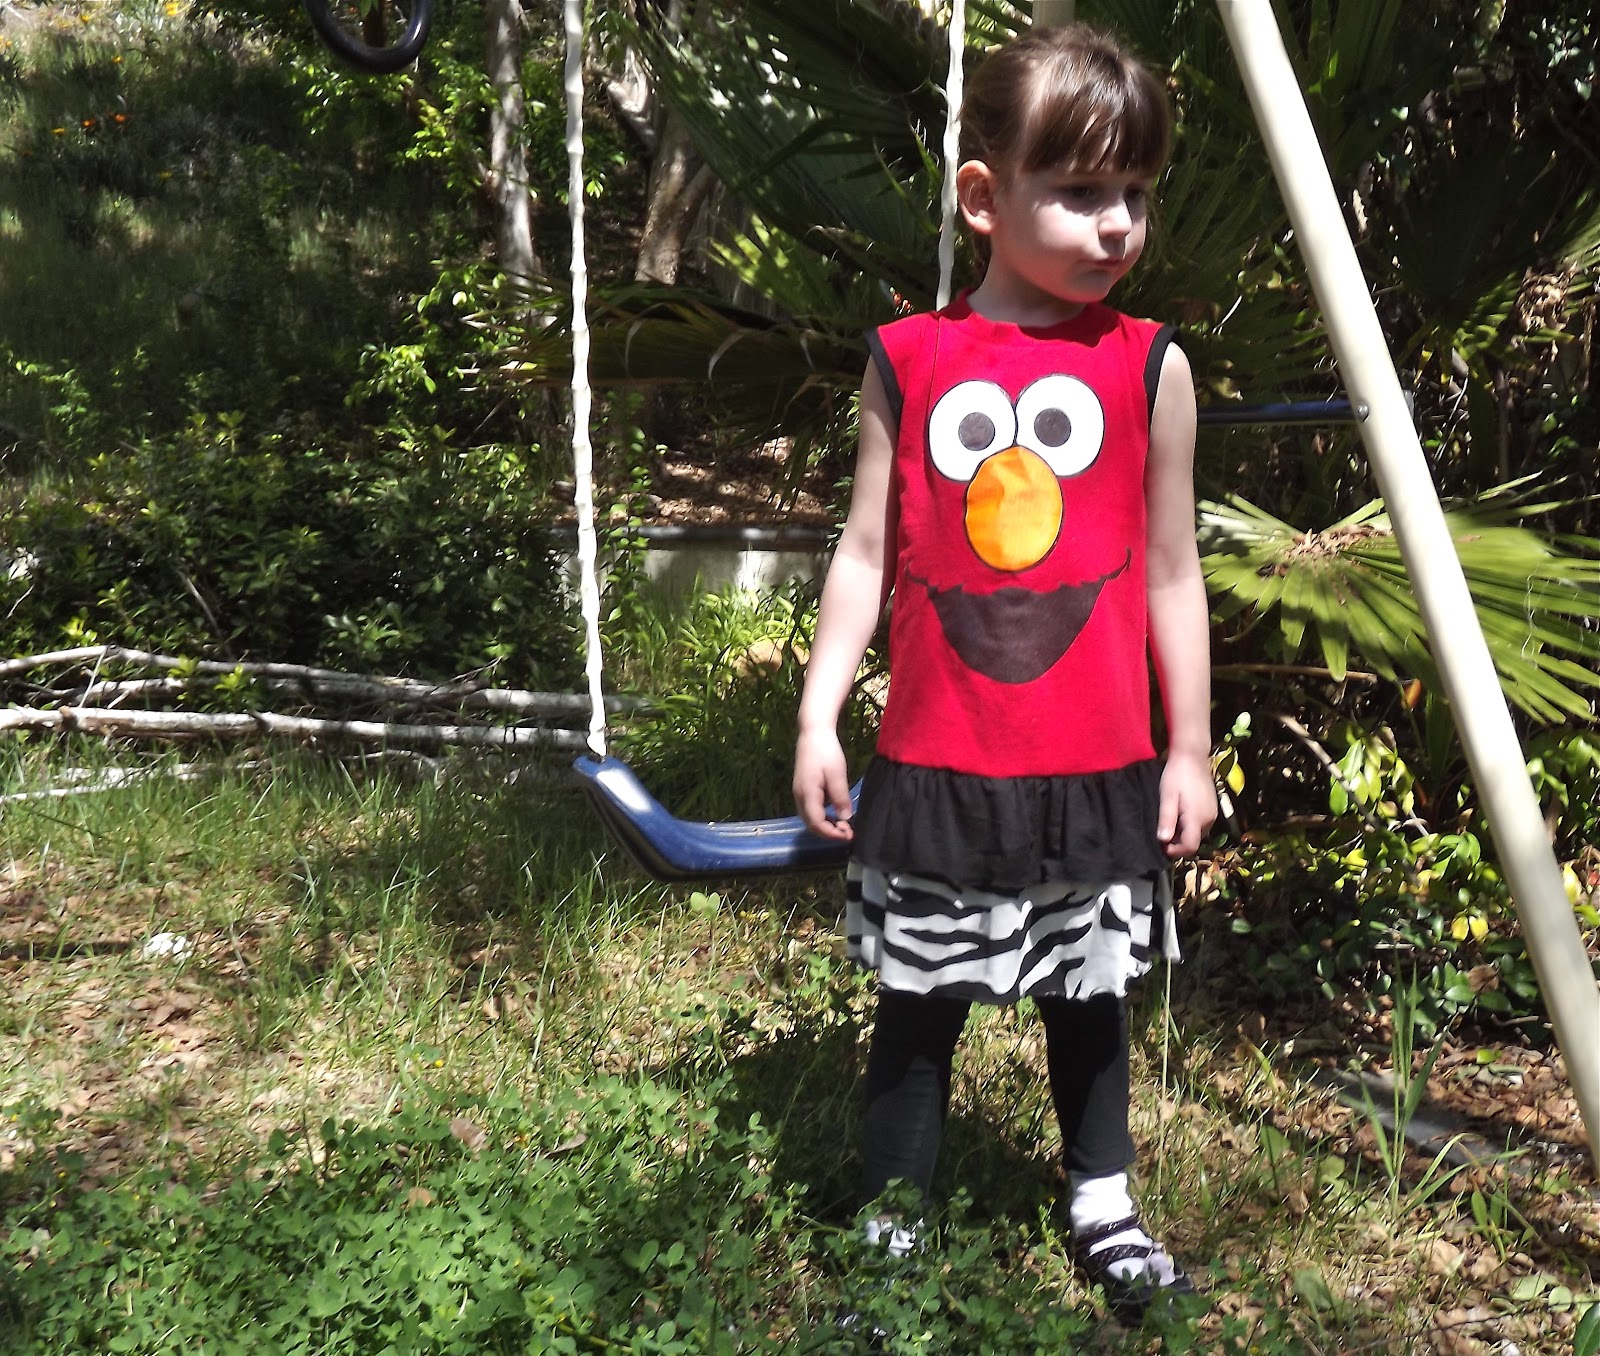
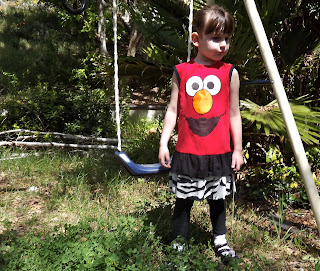
Ta Da! You have your upcycled character shirt.

Tuesday, March 20, 2012

The Magic of Circles

This was my daughter's second birthday cake. Her first character crush was Elmo. Since her official birthday fell on a date we hadn't scheduled the the party, I whipped up a cake in the shape of her favorite character.
This cake is simply one circle cake, two full cup cakes and one cup cake top.

I simply set the two cup cakes on top of the circle cake. The eye can be held close to the cake with two chop sticks or skewers. Since we didn't have to move this cake, I didn't use reinforcements.

I started decorating with the mouth and the pupils (thus starting with black). My next color was red. My third color was white, around the eyes. Finally, I cut the top off a cup cake and positioned it where you see the nose in the photo. There is frosting underneath the nose, as the frosting helps makes the cup cake top nose stick to the eyes and the face. Finally, I frosted the nose in Orange.

My daughter was so happy. This is an easy pleasing cake for any two year old!!